

 Aliexpress
 Hohem Official Store
 简体中文
简体中文 English
 Deutsch
 Italiano
 日本語
日本語 한국어
한국어 Français
 Español
 Pусский
 Português
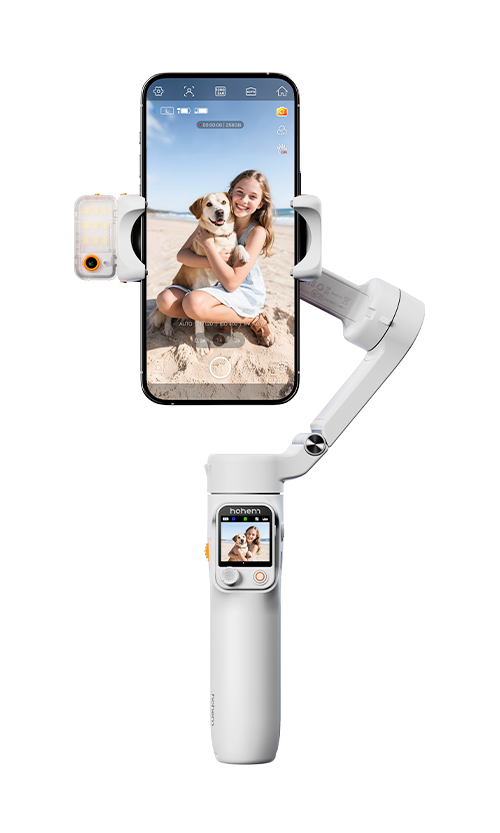


 Other Languages
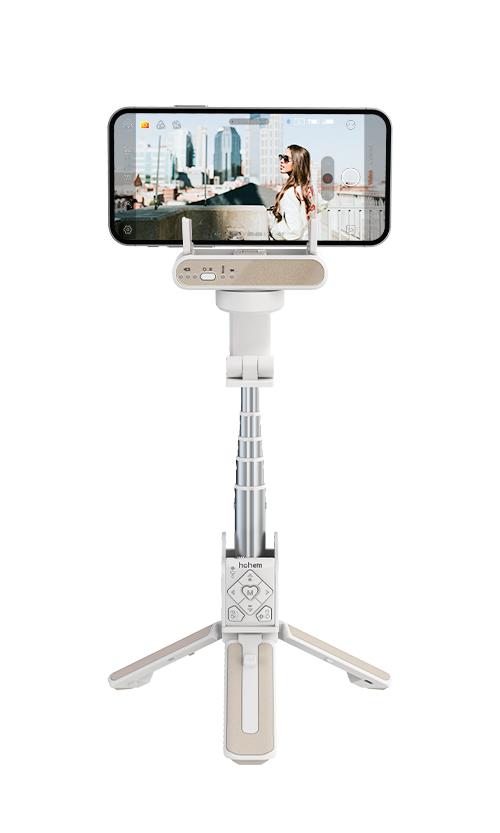
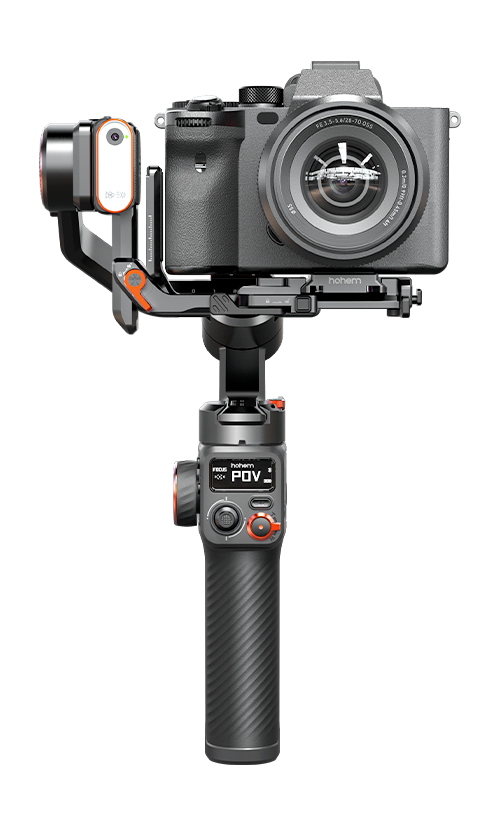
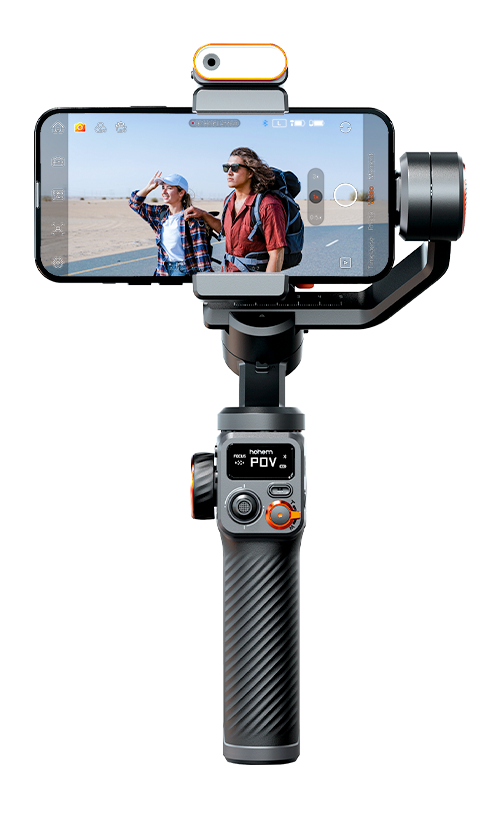
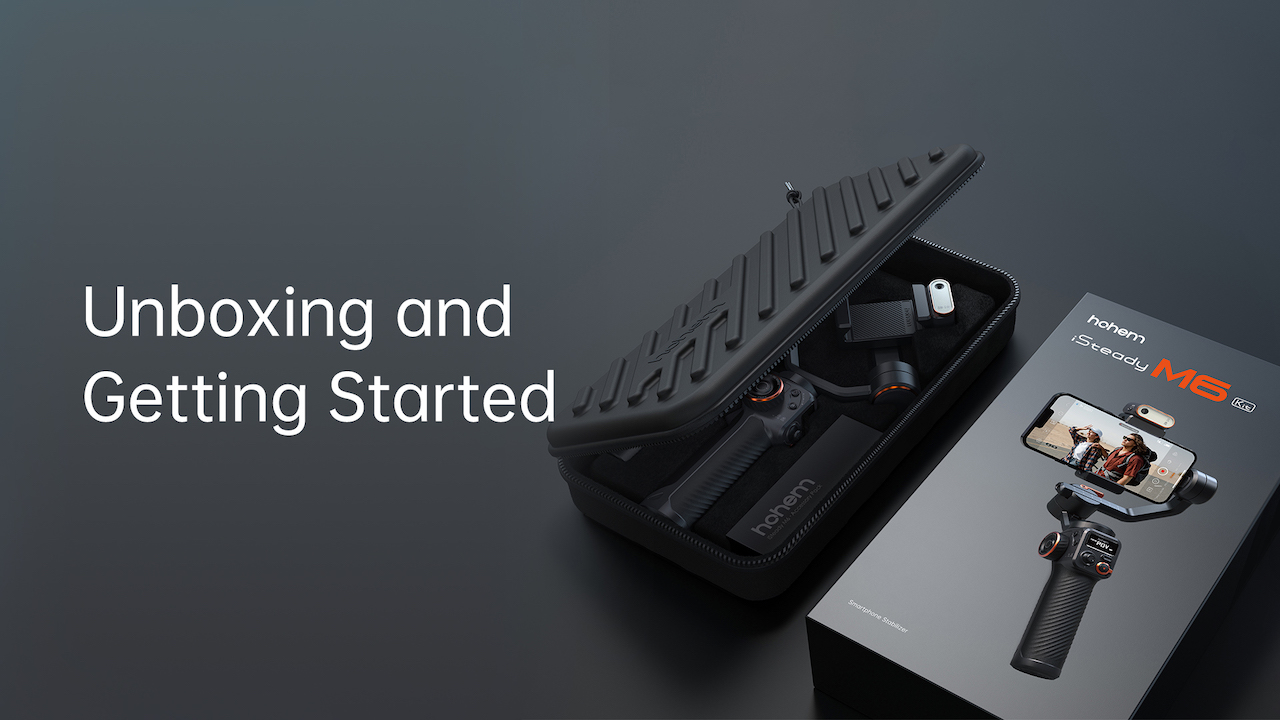
iSteady M6 supports phones (including phone cases) with a width dimension ranging from 58mm to 98mm, a thickness of up to 13mm, and a maximum weight of 400g. The gimbal can accommodate foldable phones that fold both vertically and horizontally. For phones that fold only horizontally, they are supported as long as their thickness is within 13mm.
*Detailed compatibility list can be found on the "Downloads" page.
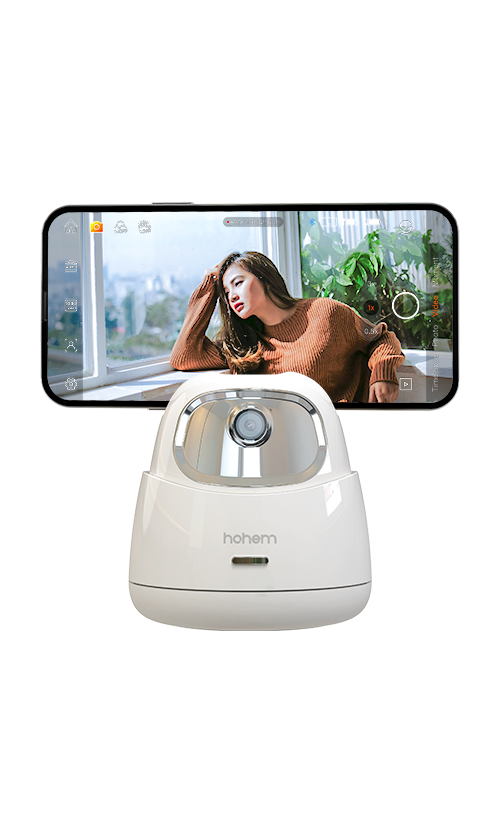
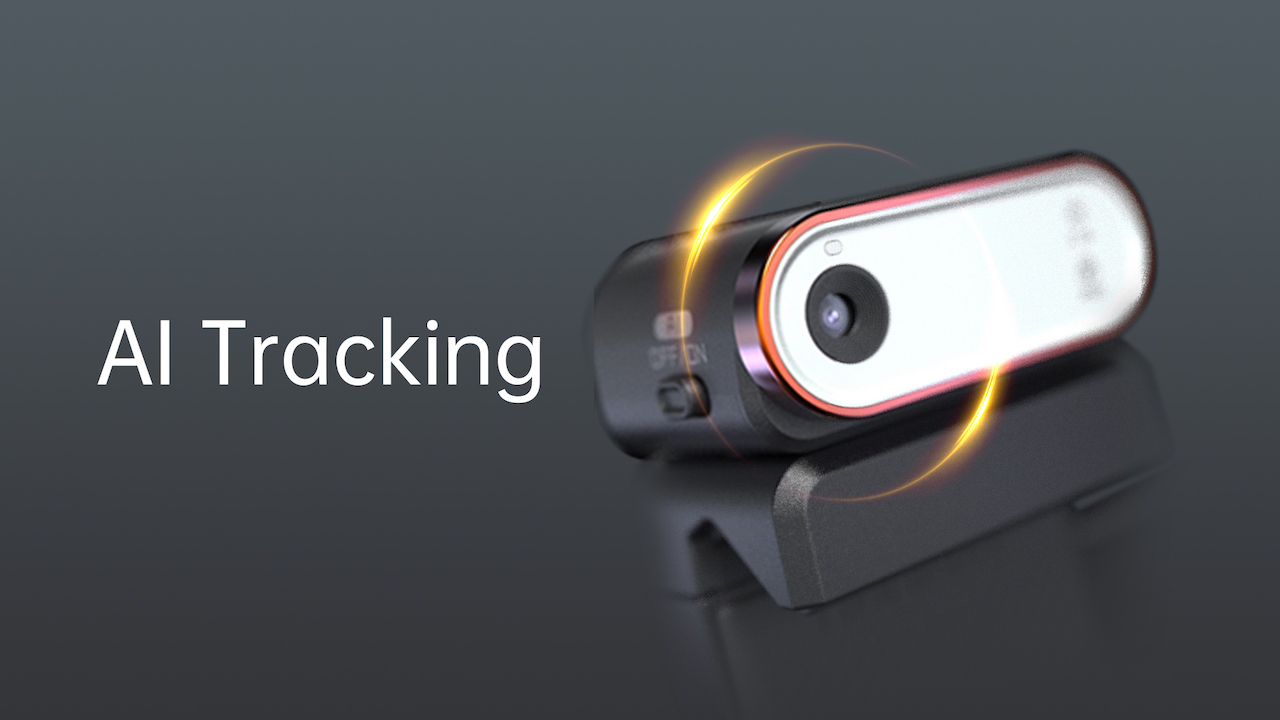
The gimbal's continuous working time is approximately 6-8 hours when the AI tracking feature is enabled. The actual duration may vary slightly based on the tracking speed and frequency.
A. Ensure AI tracking is enabled: Slide the switch on the side of the AI tracking sensor to "ON". After the fill light flashes twice and the top left indicator light turns red, it indicates that the AI tracking is enabled.
B. Maintain a valid recognition distance: The effective recognition distance for gestures is between 0.5m to 3.5m, and the effective tracking distance is between 0.5m to 5m. Being too far or too close to the gimbal can affect the sensitivity of gesture recognition and tracking.
C. Ensure sufficient ambient light: Ensure the surrounding environment is not too dark. Adequate lighting conditions are essential for proper gesture recognition and tracking.
You can find more specific instructions on adjusting these settings in the user manual.
A. Ensure that the AI tracking feature is enabled.
B. Stand in front of the AI camera at a distance of 0.5-3.5 meters and perform the gesture. The indicator light will rapidly flash green, indicating that you've entered customization mode.
C. Adjust your desired framing position, then perform the gesture again. When the indicator light stops flashing, it signifies successful customization, and AI will now track from your chosen position.
A. Enable the fill light: Long press the multifunctional control wheel while the AI Tracking sensor is enabled. (Slide the switch on the side of the AI tracking sensor to "ON". After the fill light flashes twice and the top left indicator light turns red, it indicates that the AI tracking is enabled)
B. Rotate the wheel to adjust the light brightness. The OLED display in the top left corner will show the current brightness percentage (%). Triple-press the scroll wheel to toggle between CCT mode and RGB mode. In CCT mode, the OLED will display the current color temperature in Kelvin (K), while in RGB mode, it will show the current RGB color value (°).
C. When using the gimbal with the fill light continuously, the overall battery life is approximately 3-4 hours. The actual battery life may vary depending on the brightness level of the fill light used.
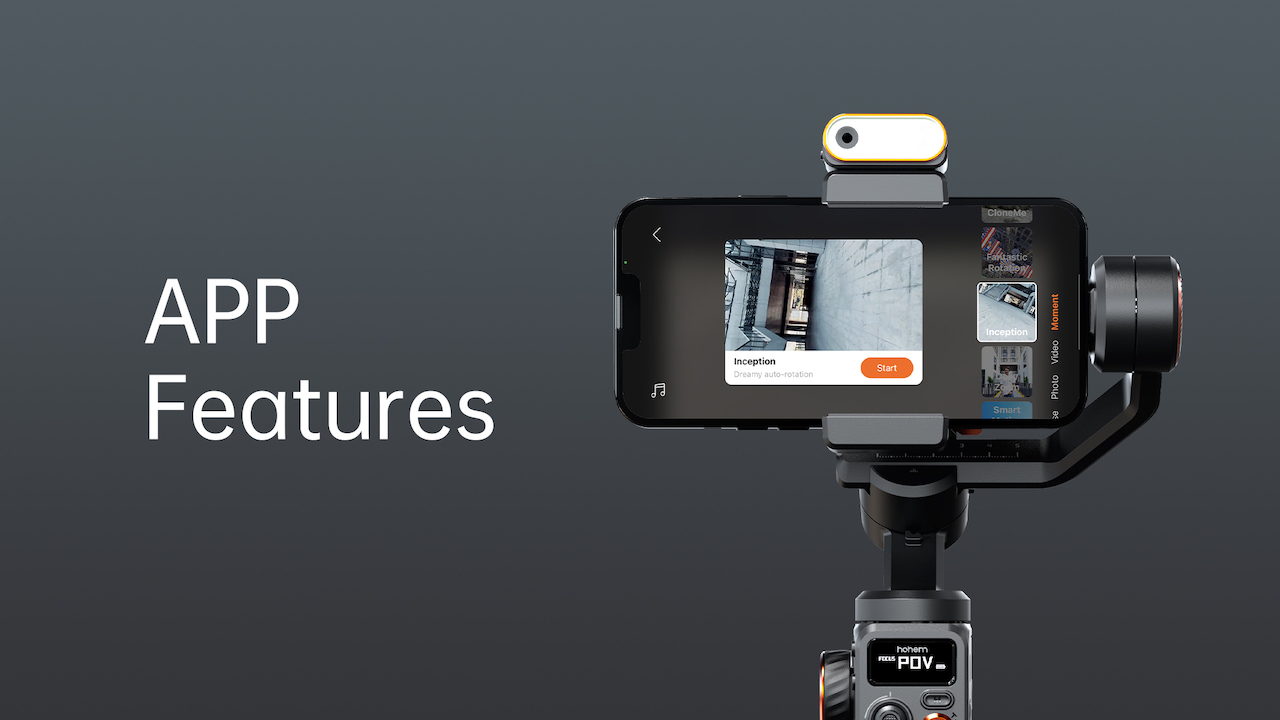
A. Make sure that the Bluetooth is already connected between the app and the stabilizer.
B. While manually selecting the object target, make sure the color of the target's block is distinct from the surrounding background. It is recommended to choose an object with significant color contrast to the background for better tracking results.
"ERROR" indicates gimbal anomalies:
• "ERROR 01" indicates Firmware Error. Please contact customer service for further troubleshooting.
• "ERROR 02" indicates Gyroscope Error. Please contact customer service for further troubleshooting.
• "ERROR 03" indicates Overload Anomalies. This happens when the gimbal is not unlocked, not balanced, or when external interference causes motor overload, leading to abnormal operation.
It's a normal phenomenon if the gimbal becomes warm after prolonged use.
Before turning on, ensure proper balancing of the gimbal, as not doing so can lead to excessive load and heating. Using the app for shooting maintains constant Bluetooth connection between the gimbal and phone, increasing power consumption and contributing to heating. For extended shooting, consider using the native phone camera app.
A. Ensure the gimbal has sufficient battery power.
B. Ensure your smartphone is center-clamped. Simply restart the gimbal to resolve the issue.
A. Ensure the gimbal is powered on.
B. Press the rear trigger button on the gimbalr four times to enter ultra-wide-angle mode.
A. Make sure the Bluetooth is already connected.
B. For iOS devices, it's only available in the Hohem Joy app.
C. For Android devices, it is only available in the Hohem Joy app or on the native camera app of certain standard protocol phones with Android 10.0 or later versions.
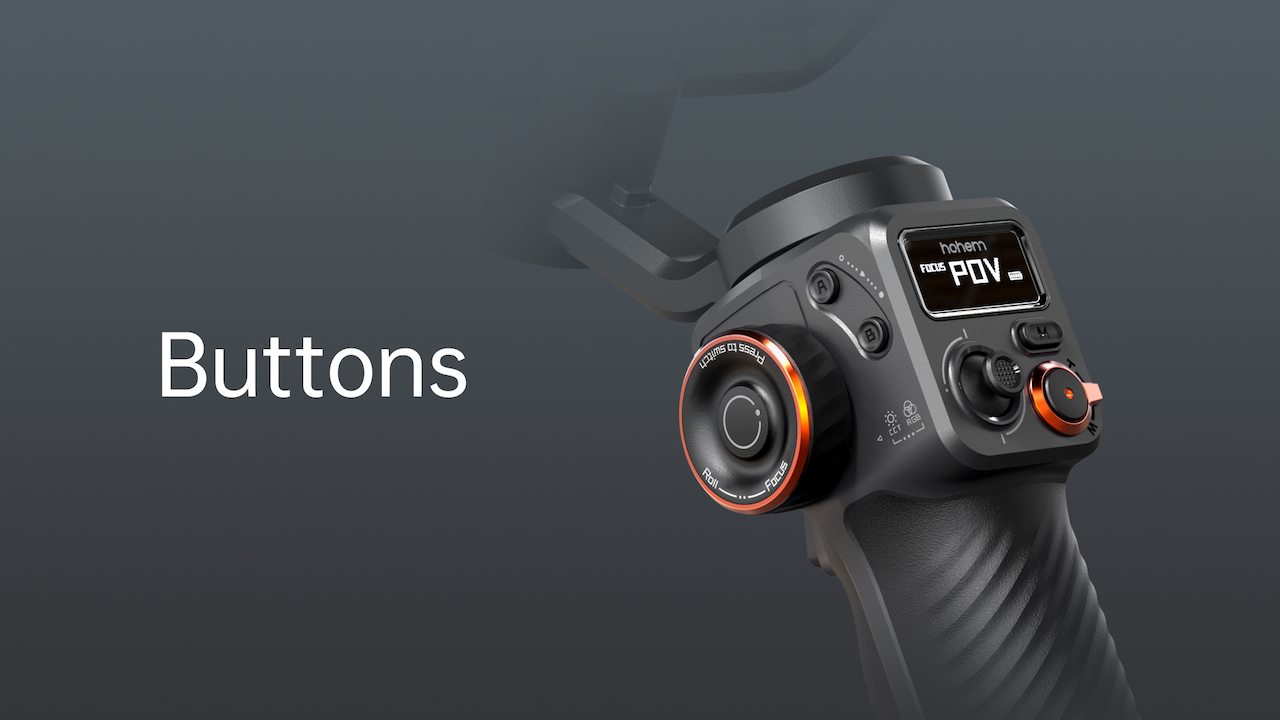
A. Pan Follow Mode(PF)
Axes Engaged: Pan axis is active; Roll and Tilt axes are locked.
Functionality: The gimbal allows the phone to pan left or right smoothly following the operator's movements, while maintaining a steady tilt and roll position.
B. Pan and Tilt Follow Mode(PTF)
Axes Engaged: Both Pan and Tilt axes are active; Roll axis is locked.
Functionality: This mode enables the phone to follow the operator's pan (left/right) and tilt (up/down) movements, offering more dynamic control over the framing. The roll axis remains locked to keep the horizon level.
C. Point of View Mode(POV)
Axes Engaged: All three axes (Roll, Pan, and Tilt) are active.
Functionality: This mode allows the phone to follow the operator's movements in all directions, It offers a 'first-person' perspective, capturing footage as if the viewers are seeing through the operator's eyes.
D. All Lock Mode(L)
Axes Engaged: All three axes (Roll, Tilt, and Pan) are locked and will not follow the operator's movements.
Functionality: In Lock Mode, the phone's orientation remains fixed regardless of the gimbal's movements.
*Remote controller is an optional accessory and requires separate purchase.
A. Ensure the gimbal is powered on.
B. Make sure the remote controller power switch is in the "OFF" position.
C. Press the mode button seven times and the gimbal will enter pairing mode. The Bluetooth indicator will flash alternately in yellow and green.
D. Toggle the remote controller power switch to "ON". The remote controller will automatically connect to the gimbal.
E. Long press the directional buttons on the remote controller to control the gimbal's movement, indicating successful pairing.
*Follow the above steps in sequence to ensure successful connection.


 Other Languages


Call service:
US+1 (888) 965 8512
Subscribe
简体中文 English Deutsch Italiano 日本語 한국어 Français Español Pусский Português