

 Aliexpress
 Hohem Official Store
 简体中文
简体中文 English
 Deutsch
 Italiano
 日本語
日本語 한국어
한국어 Français
 Español
 Pусский
 Português


 Other Languages
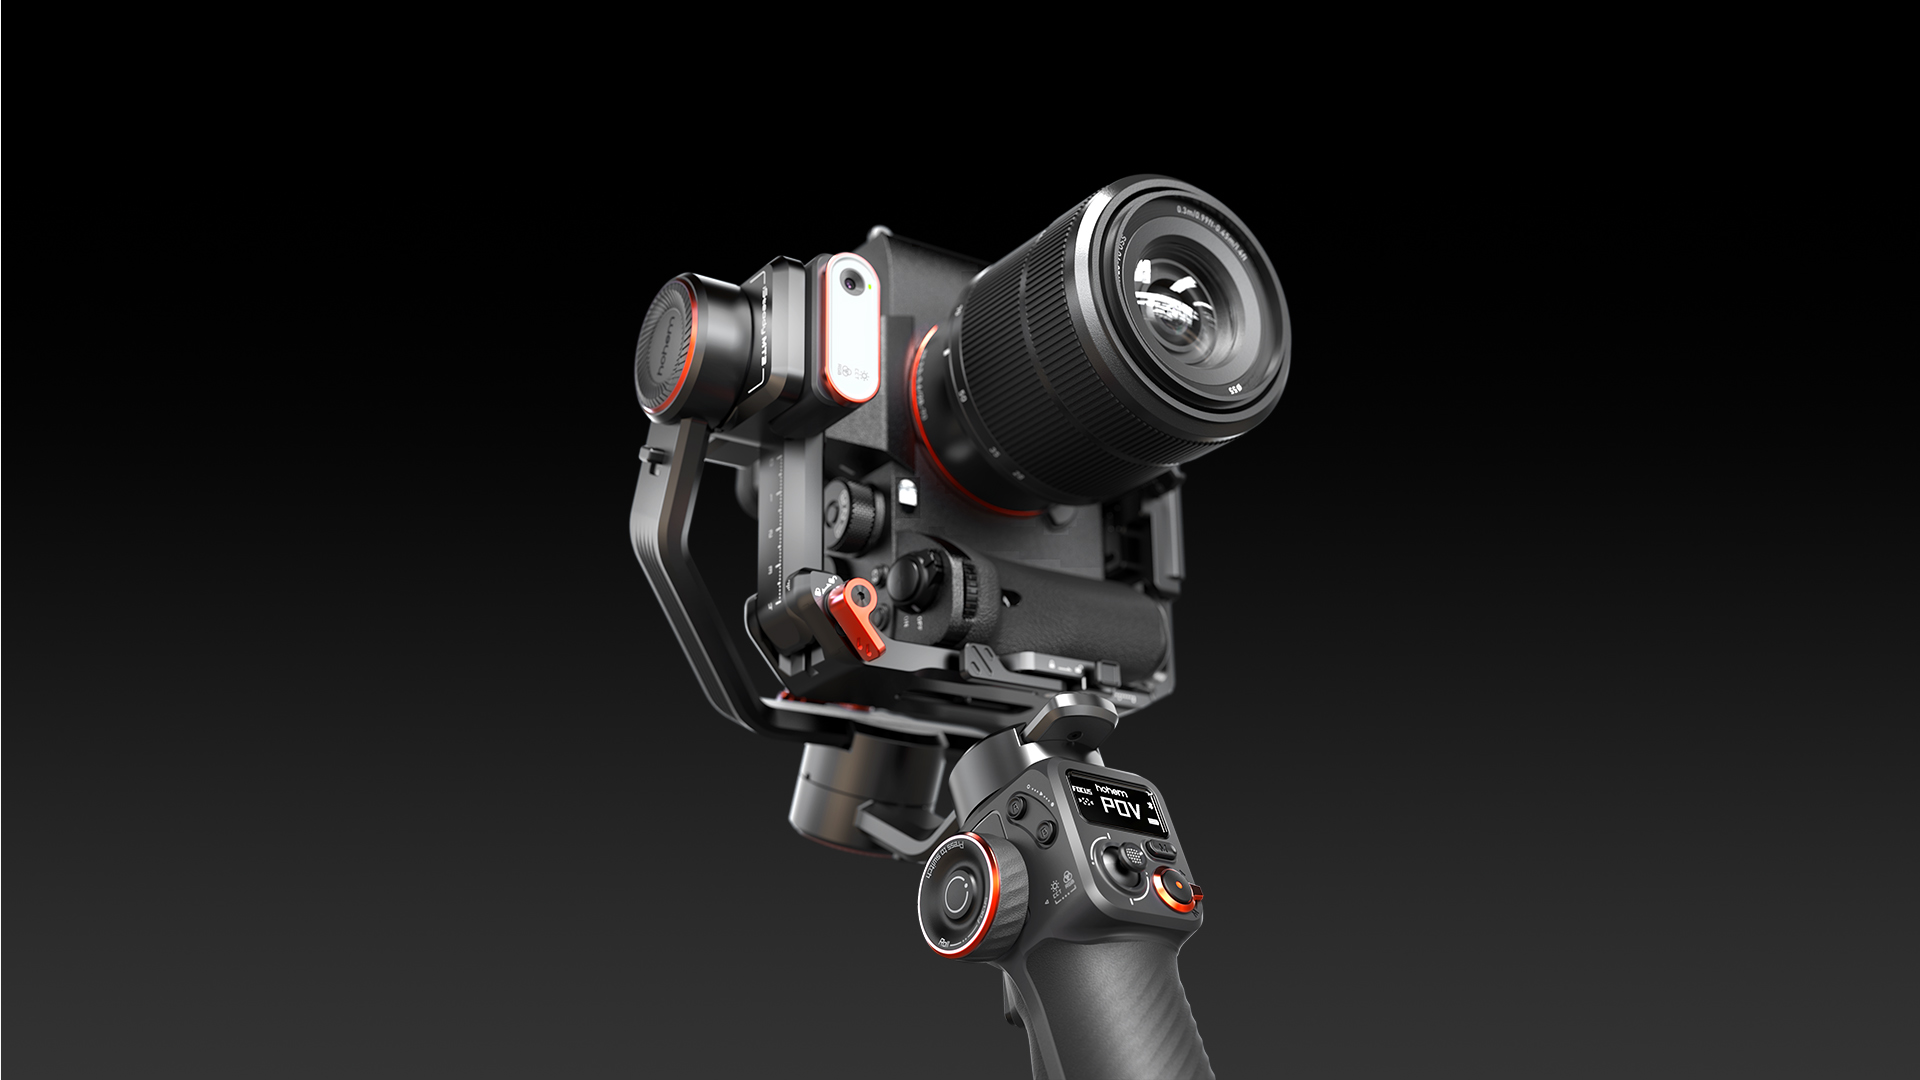
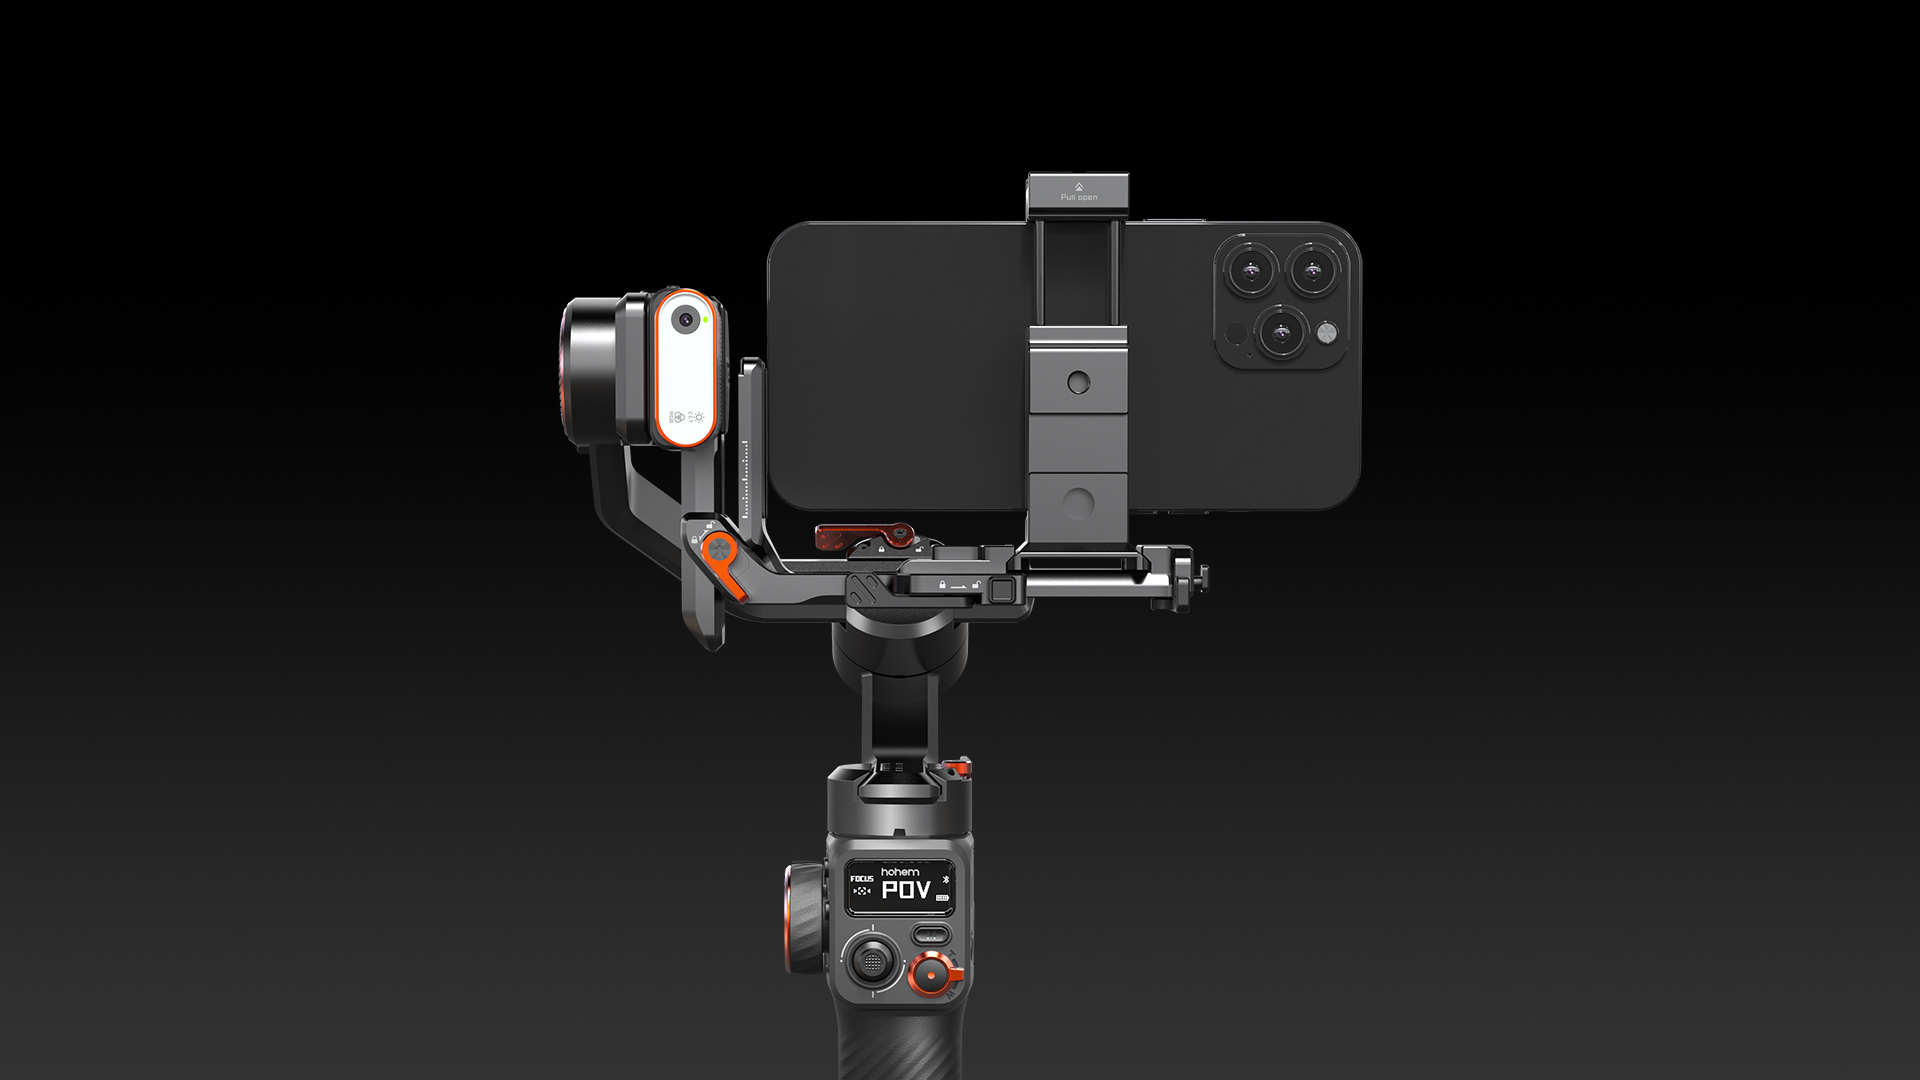
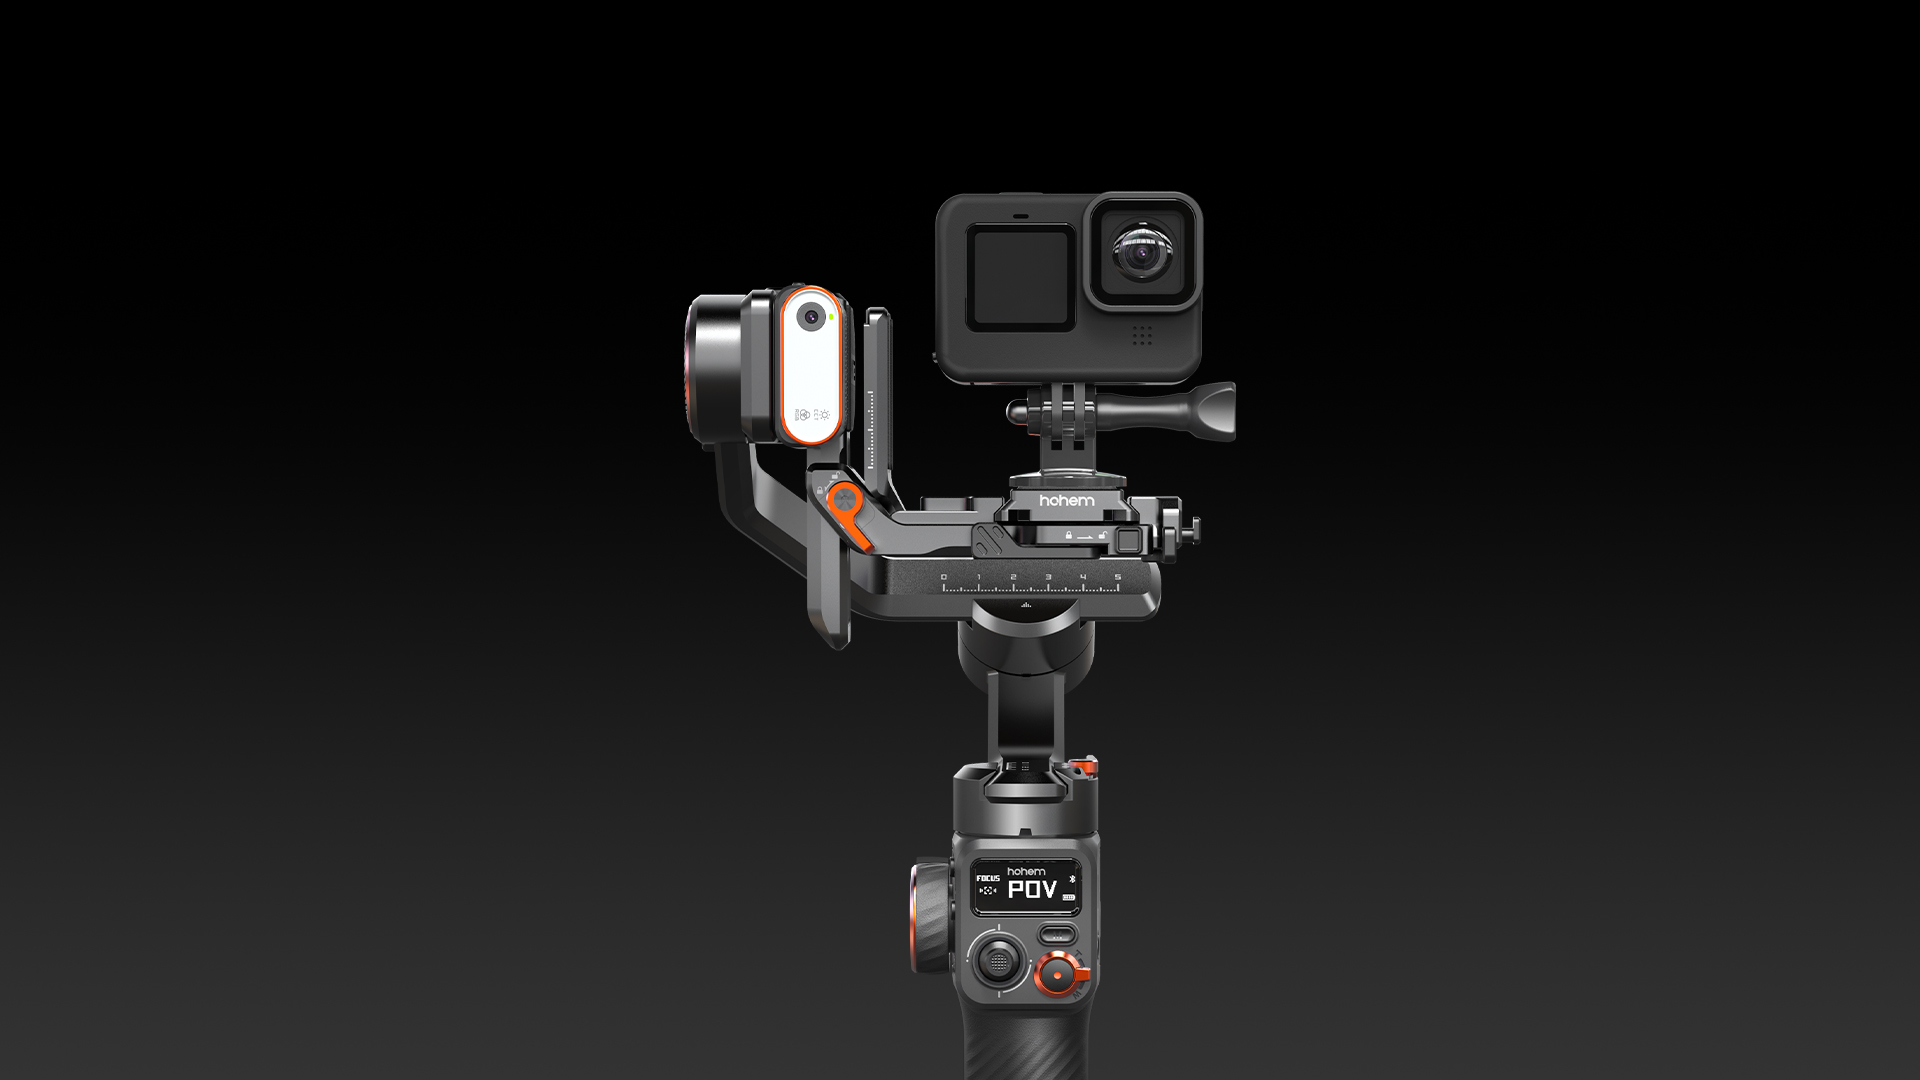
iSteady MT2 is equipped with two built-in 2800mAh batteries. After balancing, it can be operated for up to 17 hours with a mobile phone or action camera. With a mirrorless camera mounted, the battery life extends to around 16 hours. However, actual usage times can vary depending on practical scenarios.
If you activate the AI tracking feature, the gimbal's continuous working time is approximately 6-8 hours. This duration can slightly vary based on tracking speed and frequency.
A. Ensure that the AI tracker is turned on.
B. Keep a distance of 0.5m to 3.5m (1.64ft to 11.48ft) with the AI tracker, and make this gesture . The indicator will flash quickly in green to indicate that it's ready for customized composition.
C. Move to the center position and make this gesture again. The indicator will turn solid to indicate that this process is completed.
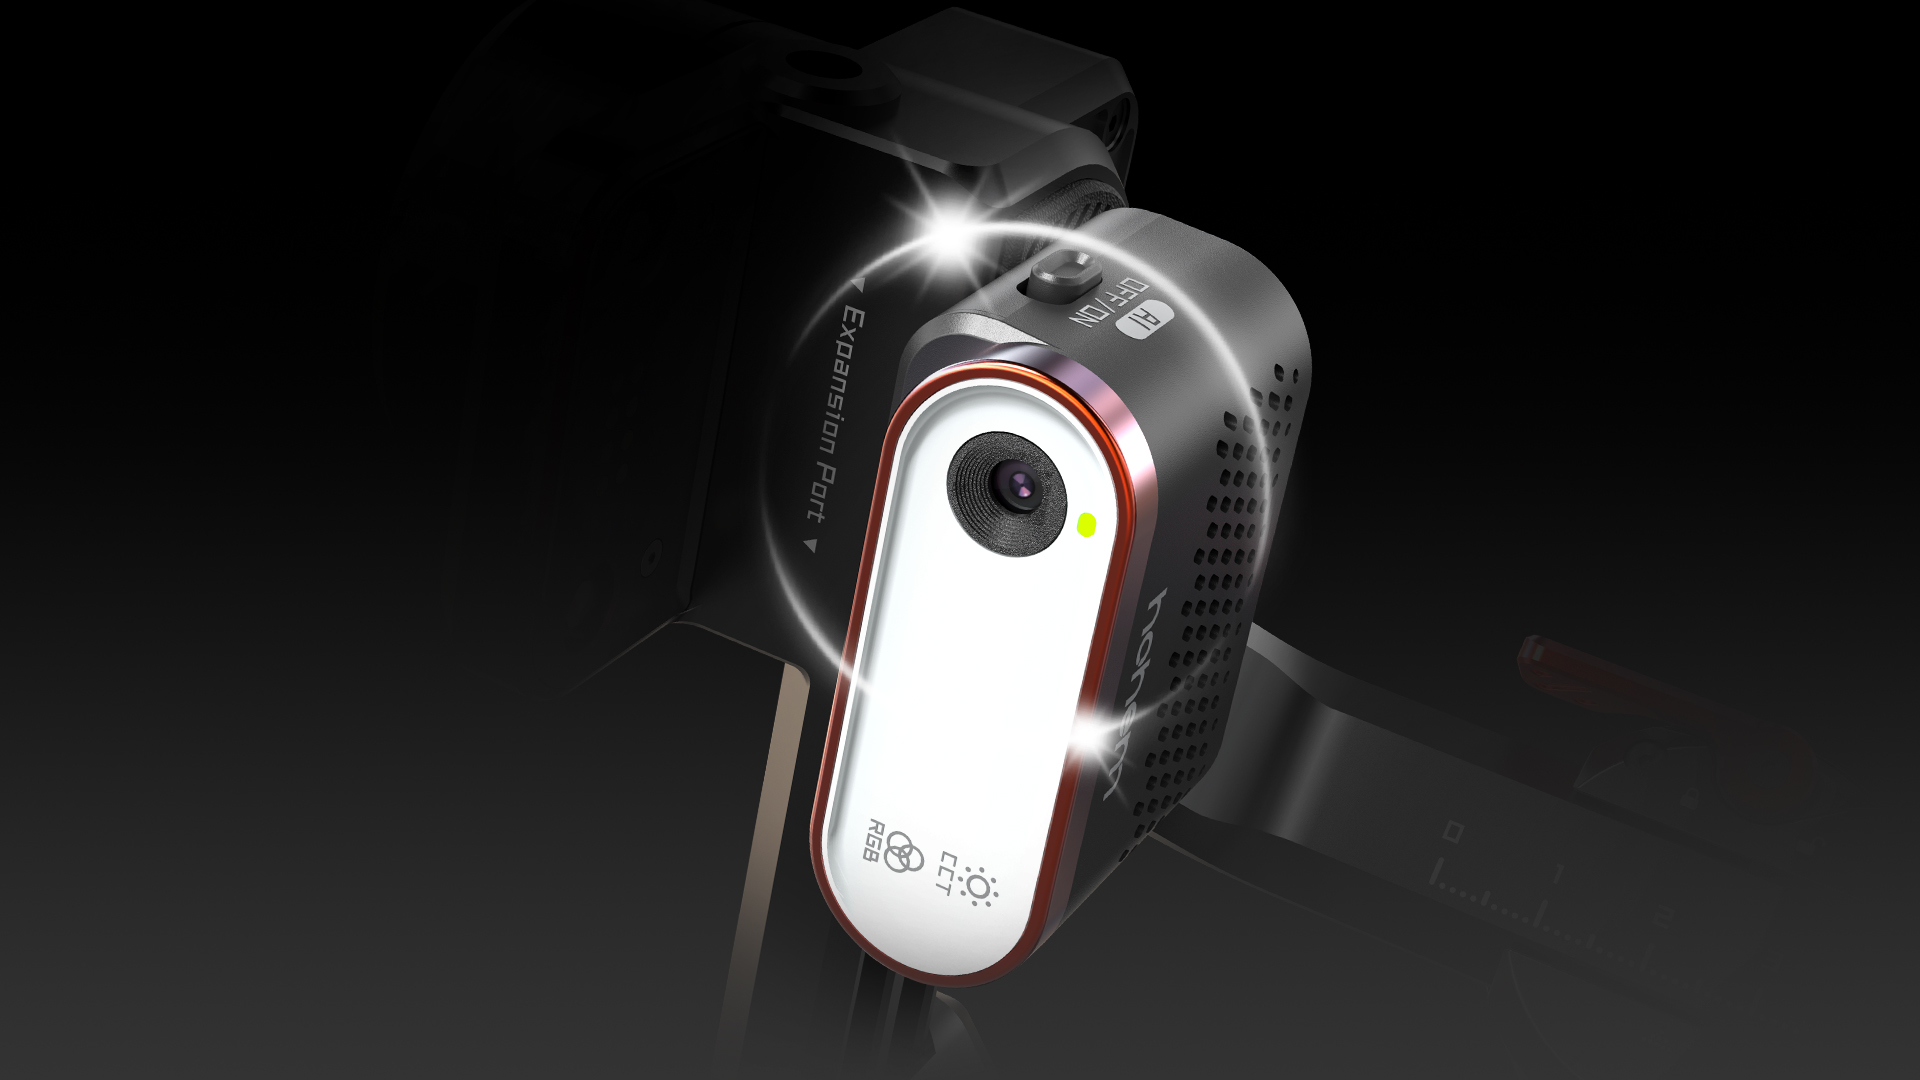
A. Ensure that the AI tracker is enabled: Switch on the AI tracker after you power the gimbal on. After the fill light flashes twice and the top left indicator turns red, it indicates that the AI tracker is enabled.
B. Ensure sufficient ambient light: Make sure the surrounding environment is not too dark. Adequate lighting is essential for proper gesture recognition and tracking.
C. Maintain a valid recognition distance: The effective recognition distance for gestures is between 0.5m to 3.5m (1.64ft to 11.48ft), and the effective tracking distance is between 0.5m to 5m (1.64ft to 16.40ft). Being too far or too close to the gimbal can affect the sensitivity of gesture recognition and tracking.
D. Ensure correct gestures: When you make gestures to the AI tracker, make sure that your gesture is correct as instructed and easily recognized, and both your face and hand gesture are captured in the frame.
A. Observe the gimbal's three axes and ensure that it's well-balanced.
B. Ensure that your phone/camera is attached to the quick release plate closely and tightly.
*If the gimbal is still shaking after the above steps, please long press the mode button to enter the OLED submenu "Motor Parameter Settings", then single press button A/B to select "Motor Torque". Push down the joystick to switch between tilt, roll and pan axes, and push left to decrease the motor torque.
It's a normal phenomenon if the gimbal becomes warm after prolonged use.
Before turning on, ensure proper balancing of the gimbal, as not doing so can lead to excessive load and heating. Using the app for shooting maintains constant Bluetooth connection between the gimbal and phone, increasing power consumption and contributing to heating. For extended shooting, consider using the native phone camera app.
"ERROR" indicates gimbal anomalies:
• "ERROR 01" indicates Firmware Error. Please contact customer service for further troubleshooting.
• "ERROR 02" indicates Gyroscope Error. Please contact customer service for further troubleshooting.
• "ERROR 03" indicates Overload Anomalies. This happens when the gimbal is not unlocked, not balanced, or when external interference causes motor overload, leading to abnormal operation.
Step 1: Balancing
Before turning on the gimbal, ensure that you have already done balancing and unlock the three motors.
Step 2: Auto Calibration
Power on the gimbal and place it on a level, stationary surface. Press the "M" button five times to enter auto-calibration mode. The OLED will display "CALIBRATING..." for about 40 seconds. Once you hear a "beep," the calibration is completed. If the issue persists, proceed to the next step.
Step 3: Motor Angle Fine-Tuning
Long-press the "M" button to access the OLED sub-menu. Press the "B" button to select "Motor Angle Fine-Tuning." Use the joystick to navigate to the "ROLL" motor.
Adjust the angle left or right until you achieve the desired level. After that, long-press the "M" button to confirm and exit.
Please check the gimbal balance and ensure the pan axis is already balanced. To prevent motor overload, it is essential to properly install and balance the device before powering on the gimbal for shooting. This will ensure optimal performance and stability during your filming sessions.
Watch the balancing tutorial video(Pan Axis Balancing: 3'20''-3'55''): https://youtu.be/8jWXvsJds1o
For Canon EOS RP/EOS R6/EOS R/EOS R5/EOS R7 camera models, please use the Type C-Type C control cable.
For EOS 200D, please use the Type C-Mini control cable. For EOS M6, use the Type C-TRS (2.5mm) control cable.
For EOS M50, use the Type-Micro control cable.
After connecting and activating the camera, follow these instructions:
• Half-press the shutter button to focus. Long-press the shutter button for 1 second to capture a photo. Single-press the shutter button to start/stop video recording.
• Due to camera system limitations, please switch photo/video mode on camera manually.
• In Auto mode, attempting to take a photo while recording a video will cause the camera to exit the video mode.
* When using Bluetooth remote control, it's recommended to disable the automatic power-off function. To do this:
Enter the camera settings menu. Navigate to Power Saving > Auto Power Off > Off.
* When the camera enters low-power sleep mode, simply short-press the gimbal's shutter button to reconnect.
For Canon camera models including EOS RP, EOS R6, EOS R, EOS R5, EOS R7, EOS 200D, EOS M6 II, EOS M50, EOS M50 II, G7 X III, the gimbal supports Bluetooth wireless control.
Here are the steps to adjust the settings via Bluetooth:
Step 1: Enable Bluetooth Connection on the Camera: Wireless Functions > Bluetooth Settings > Bluetooth > Enable.
Step 2: [Wireless Functions]→[Wi-Fi/Bluetooth Connections] →[Connect Wireless Remote Control].
Step 3: Photo settings: [Drive Mode]→[Selfie: Remote Control] (either 10s or 2s, but remote control must be available).
Step 4: Power Off settings:[Settings]→[Power Saving]→[Auto Power Off]→[Disable].
Step 5: Video settings: [Video Mode]→[Shoot and Record]→[Remote Control]→[Enable].
* When the camera and iSteady MT2 are both in Bluetooth shutter and cable control mode at the same time, Bluetooth control takes priority. So please actively disconnect Bluetooth, if you need to adjust camera parameters such as aperture, shutter speed, ISO, etc, which are in cable control.
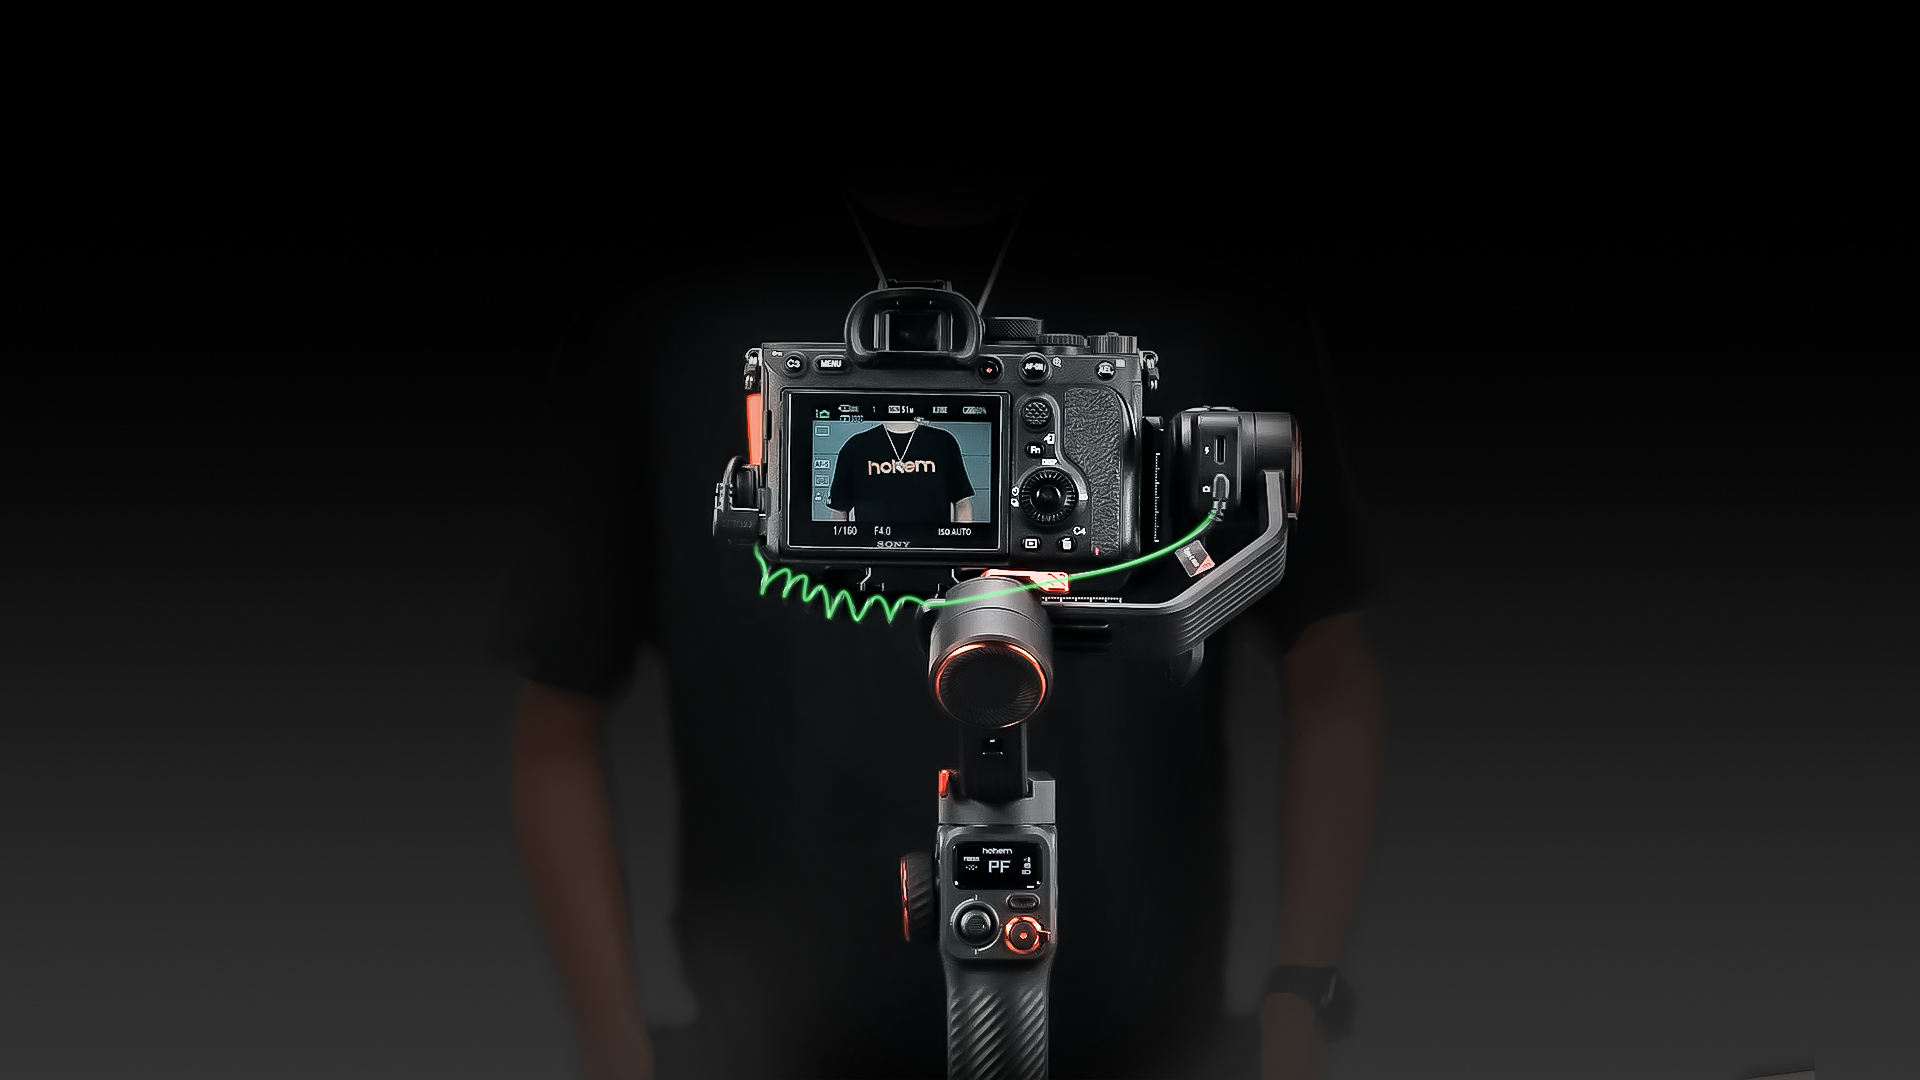
A. For Sony Cameras like A7 series/A9 series/A1 series/FX3 series/FX30 series/ZV-1/A5000 series/A6000 series/Compact Cameras.
Please use the Type C-Multi control cable. Simply plug in the connection cable to achieve camera control.
B. For Sony Cameras like ZV-1F/ZV-1 II/ZV-E10/ZV-E1:
Please use the Type C-Type C control cable. Set the "Microphone/Remote control shutter setting" to "Remote" in your camera settings. (Steps: Enter camera settings > Video settings > Microphone/Remote control shutter setting > Remote)
Note that switching between photo and video mode requires manual control on camera. In photo mode, lightly press the gimbal's shutter button to focus, and press and hold for 1 second to take a photo. In video mode, press and hold for 1 second to start/stop recording.
* For details, please check the camera control compatibility list.
Use the Type C-Type C control cable (for Nikon Z50, use Type C-Micro).
After turning on the camera, you may need to wait for about 5 seconds for the camera to establish a successful connection. Additionally, due to camera system limitations, please switch photo/video mode on camera manually.
* For details, please check the camera control compatibility list.
Step 1: Set the camera's "Microphone/Remote control shutter setting" to "Remote." Follow these steps: Enter the camera settings menu. Navigate to Video settings > Microphone/Remote control shutter setting > Remote.
Step 2: Use the Type C-TRS (2.5mm) control cable and connect it to your camera's MIC interface.
Step 3: Manually switch between photo and video mode on your camera. In photo mode, half-press the shutter button to focus, and press and hold for 1 second to take a photo. In video mode, press and hold for 1 second to start/stop recording.
* For details, please check the camera control compatibility list.


 Other Languages


Call service:
US+1 (888) 965 8512
Subscribe
简体中文 English Deutsch Italiano 日本語 한국어 Français Español Pусский Português