Smartphone Gimbal
More
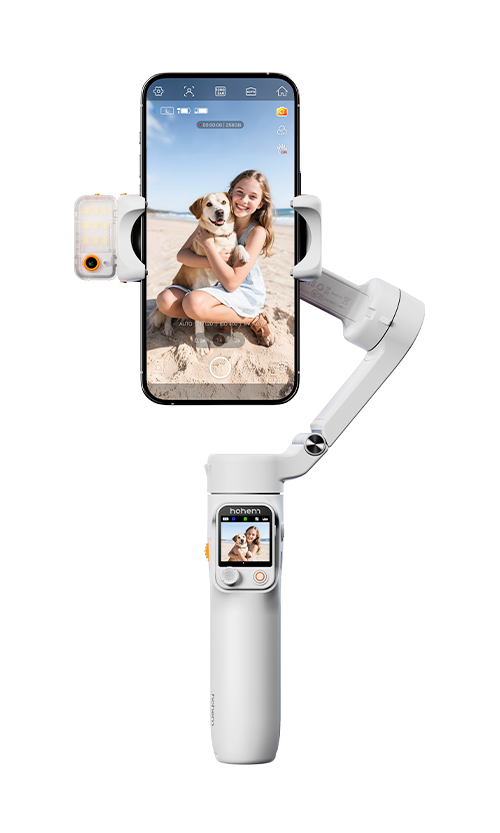
New
iSteady V3 Ultra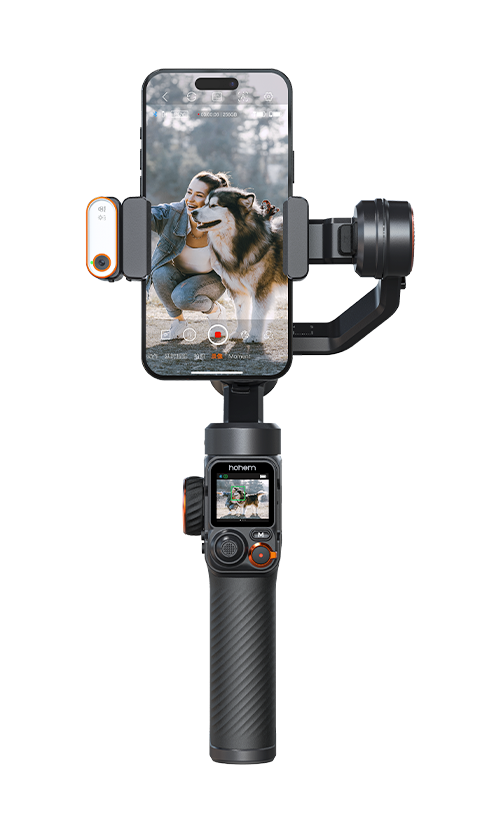
New
iSteady M7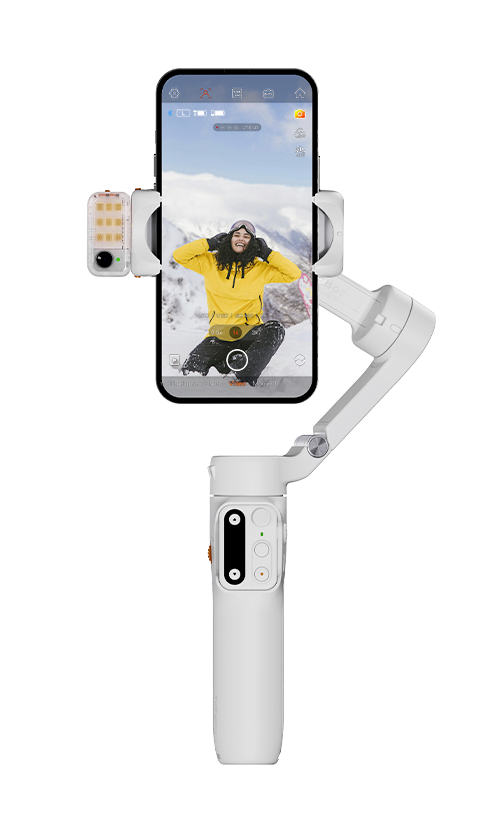
iSteady V3
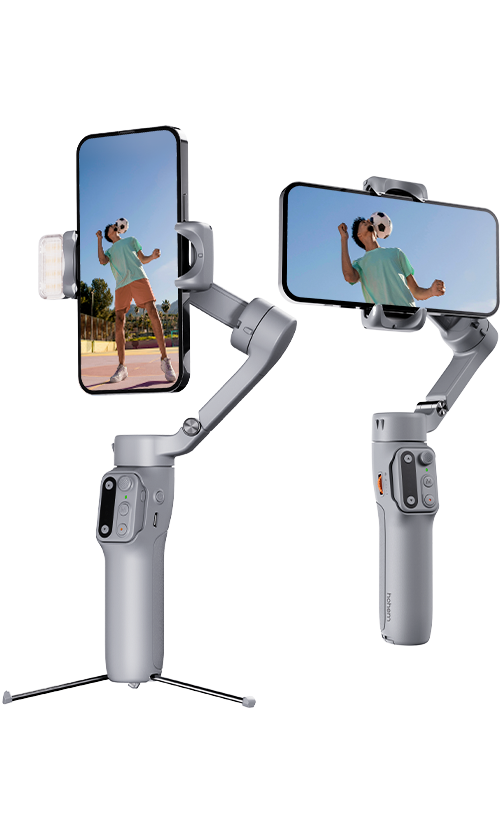
iSteady X3 & X3 SE
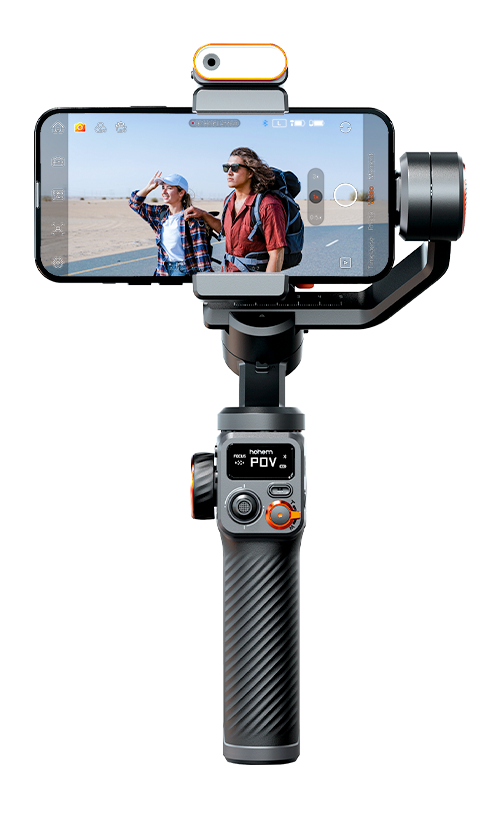
iSteady M6
Selfie Stick
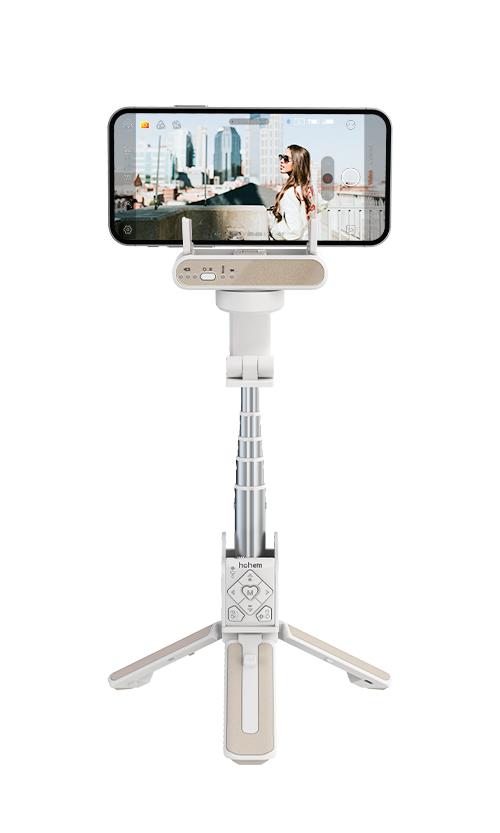
iSteady Q
Auto-Tracking Holder
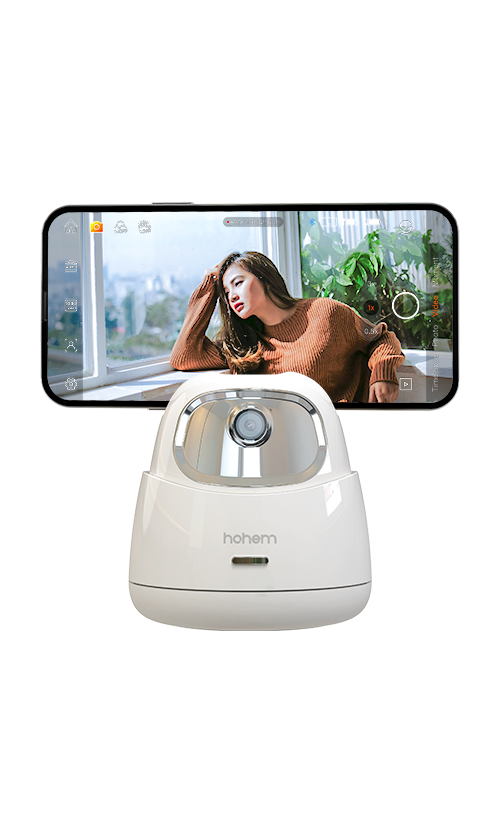
Hohem GO
Microphone
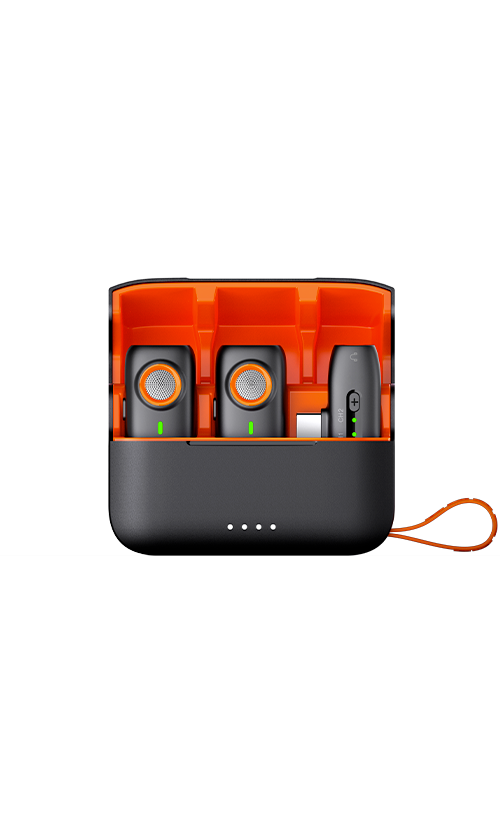
Hohem MIC-01
More
Camera Stabilizer
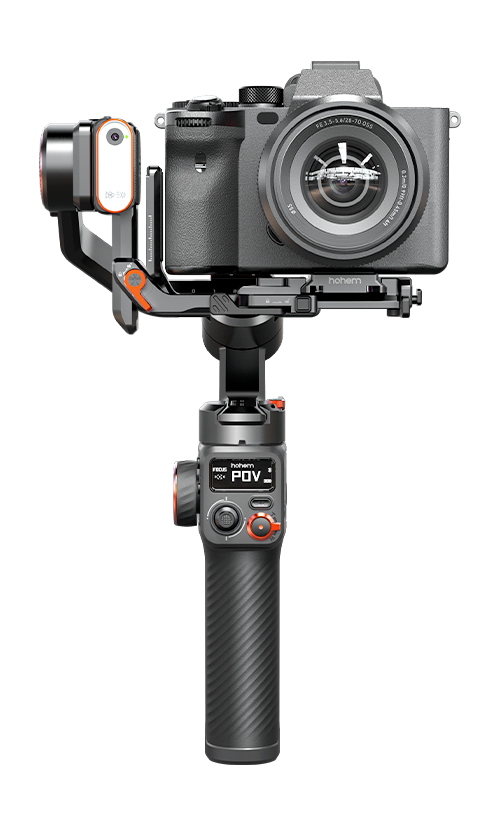
iSteady MT2
Action Camera Stabilizer
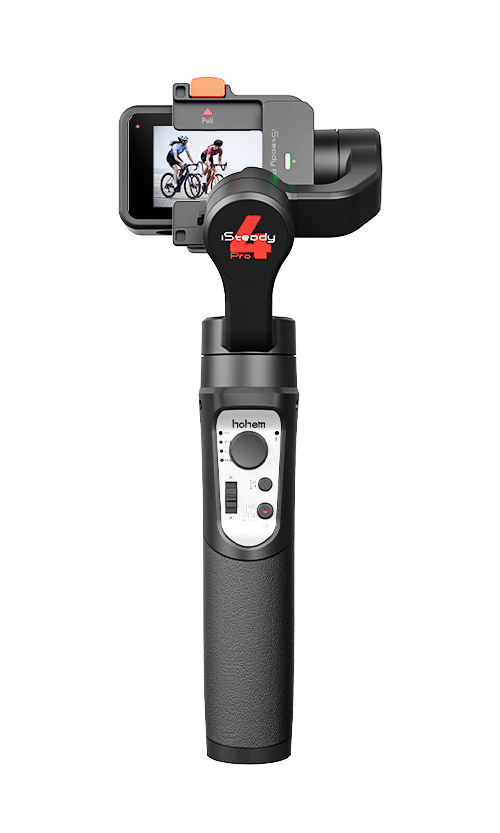
iSteady Pro 4
iSteady MT2
Tutorials


Tutorial iSteady MT2
For additional support, click
here
to contact our customer service.
Please let us know if you have any suggestions for this tutorial.
0/300
Helpful
Not Helpful
Consumer
Professional
Where to buy
About us
Programs
Call service:
US+1 (888) 965 8512
Office Hours: Mon-Fri 9AM-5PM (EST)
Subscribe
Get the latest news from Hohem
*You can
learn more
about how we handle your user data through our privacy policy.
Copyright © 2026 Hohem All Rights Guang Dong ICP No. 15015897.
English
 简体中文
简体中文 English
 한국어
한국어 Português


 Aliexpress
 Hohem Official Store

