

 Aliexpress
 Hohem Official Store
 简体中文
简体中文 English
 Deutsch
 Italiano
 日本語
日本語 한국어
한국어 Français
 Español
 Pусский
 Português
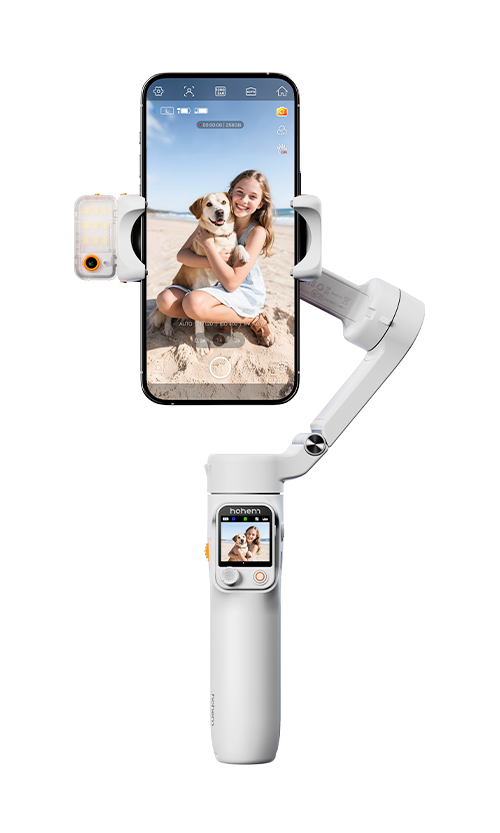


 Other Languages
A. Ensure the stabilizer is powered on.
B. Activate Bluetooth on your smartphone and search for the gimbal device with the prefix "V2s".
C. Follow the on-screen instructions to connect to the iSteady V2s when prompted.
D. When the Bluetooth indicator displays a solid green light, it indicates successful Bluetooth connection.
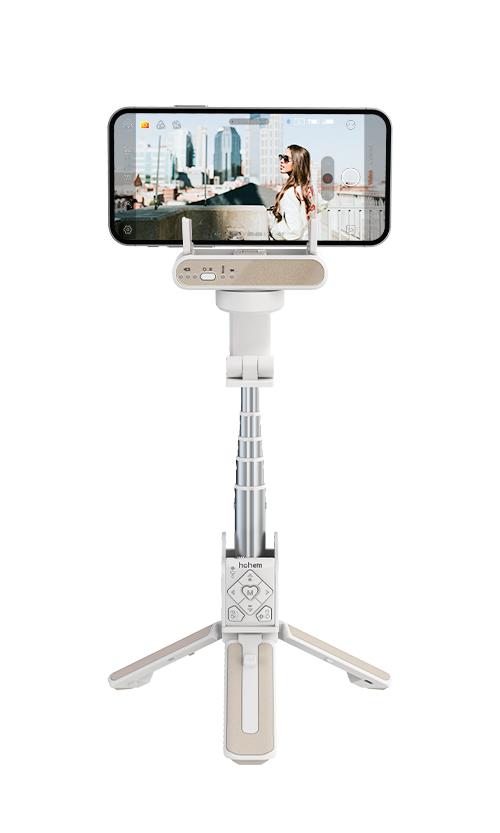
A. Ensure the stabilizer is powered on.
B. Hold the stabilizer in a vertical grip, allowing the motor to be driven by wrist movement.
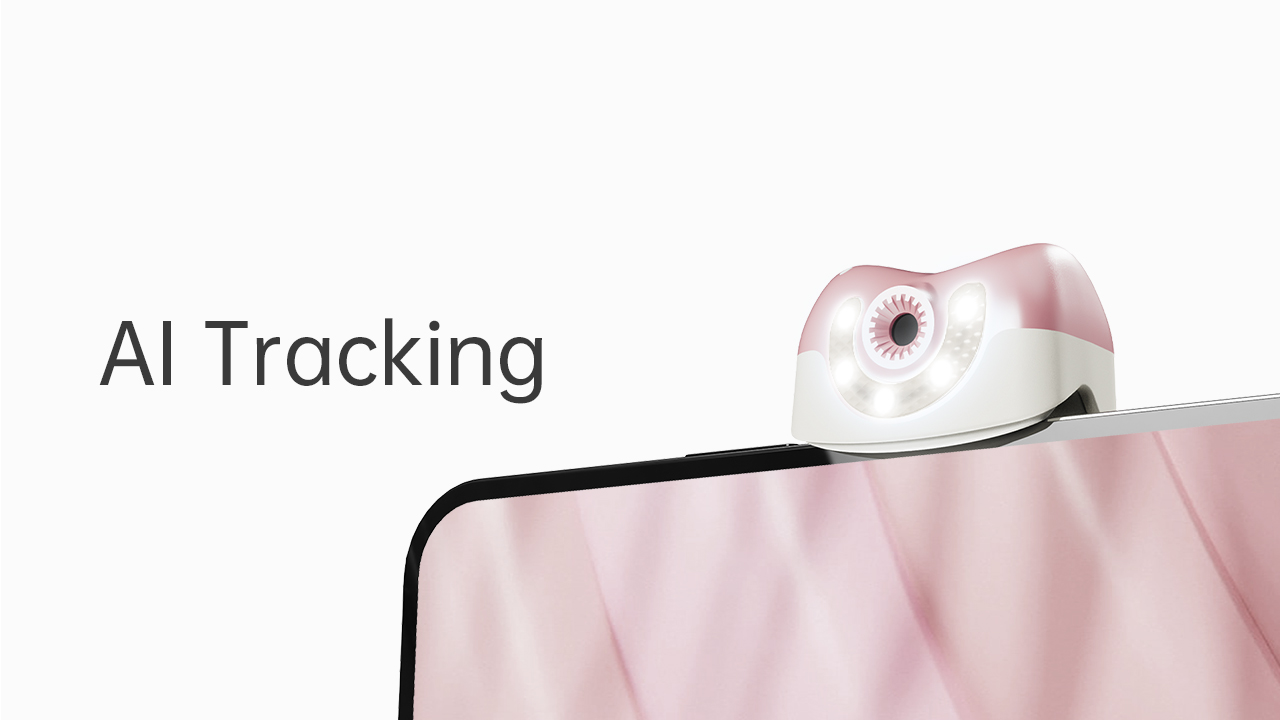
The gimbal's continuous working time is approximately 3-4 hours when the AI tracking feature is enabled. The actual duration may vary slightly based on the tracking speed and frequency.
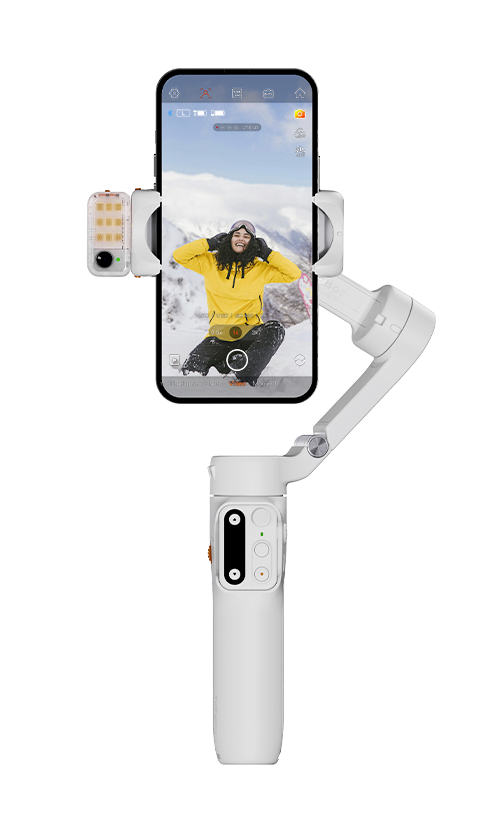
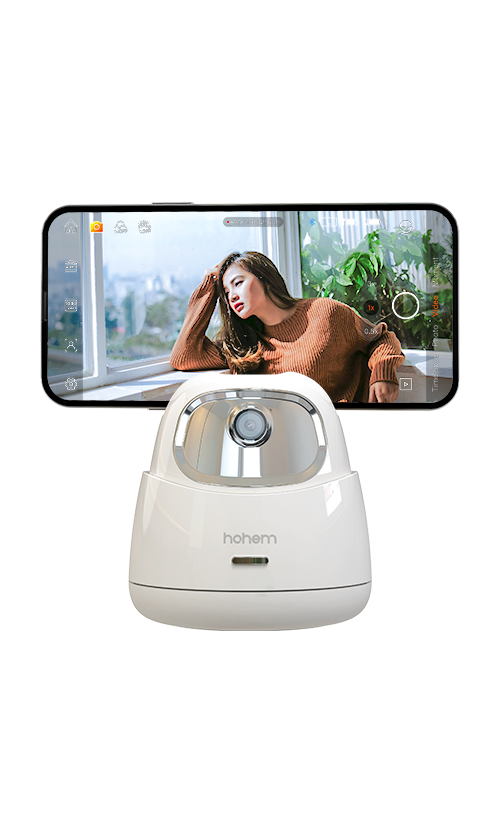
A. Ensure AI tracking is enabled: Press once the button on the top of the AI sensor. After the fill light flashes twice and the top left indicator light turns red, it indicates that the AI tracking is enabled.
B. Maintain a valid recognition distance: The effective recognition distance for gestures is between 1.6 to 4.9ft, and the effective tracking distance is between 3.2- 9.8ft. Being too far or too close to the gimbal can affect the sensitivity of gesture recognition and tracking.
C. Ensure sufficient ambient light: Ensure the surrounding environment is not too dark. Adequate lighting conditions are essential for proper gesture recognition and tracking.
*Ensure the stabilizer is powered on.
A. Press the top power button once. When the red light illuminates, it indicates that the AI tracking feature has been successfully activated.
B. Face the AI sensor and make the "OK" gesture. When the indicator light turns green, AI tracking is ready to begin.
A. Ensure that the AI tracking feature is enabled.
B. Stand in front of the AI camera at a distance of 0.5-3 meters and perform the gesture. The indicator light will rapidly flash green, indicating that you've entered customization mode.
C. Adjust your desired framing position, then perform the gesture again. When the indicator light stops flashing, it signifies successful customization, and AI will now track from your chosen position.
A. Enable the fill light: Press once the button on the top of the AI tracking sensor while the AI Tracking sensor is enabled. (Press the button on the top of the AI sensor. After the fill light flashes twice and the top left indicator light turns red, it indicates that the AI tracking is enabled)
B. Press the button to cycle through the three adjustable levels of the fill light: low-medium-strong-off.
C. When using the gimbal with the fill light continuously, the overall battery life is approximately 2-3 hours. The actual battery life may vary depending on the brightness level of the fill light used.
A. Pan Follow Mode(PF)
Axes Engaged: Pan axis is active; Roll and Tilt axes are locked.
Functionality: The gimbal allows the phone to pan left or right smoothly following the operator's movements, while maintaining a steady tilt and roll position.
B. Pan and Tilt Follow Mode(PTF)
Axes Engaged: Both Pan and Tilt axes are active; Roll axis is locked.
Functionality: This mode enables the phone to follow the operator's pan (left/right) and tilt (up/down) movements, offering more dynamic control over the framing. The roll axis remains locked to keep the horizon level.
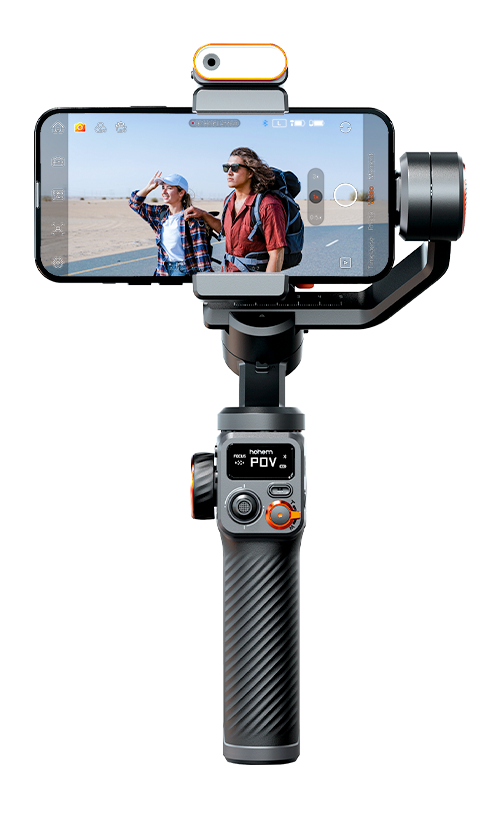
C. Point of View Mode(POV)
Axes Engaged: All three axes (Roll, Pan, and Tilt) are active.
Functionality: This mode allows the phone to follow the operator's movements in all directions, It offers a 'first-person' perspective, capturing footage as if the viewers are seeing through the operator's eyes.
D. All Lock Mode(L)
Axes Engaged: All three axes (Roll, Tilt, and Pan) are locked.
Functionality: In Lock Mode, the phone's orientation remains fixed regardless of the gimbal's movements.
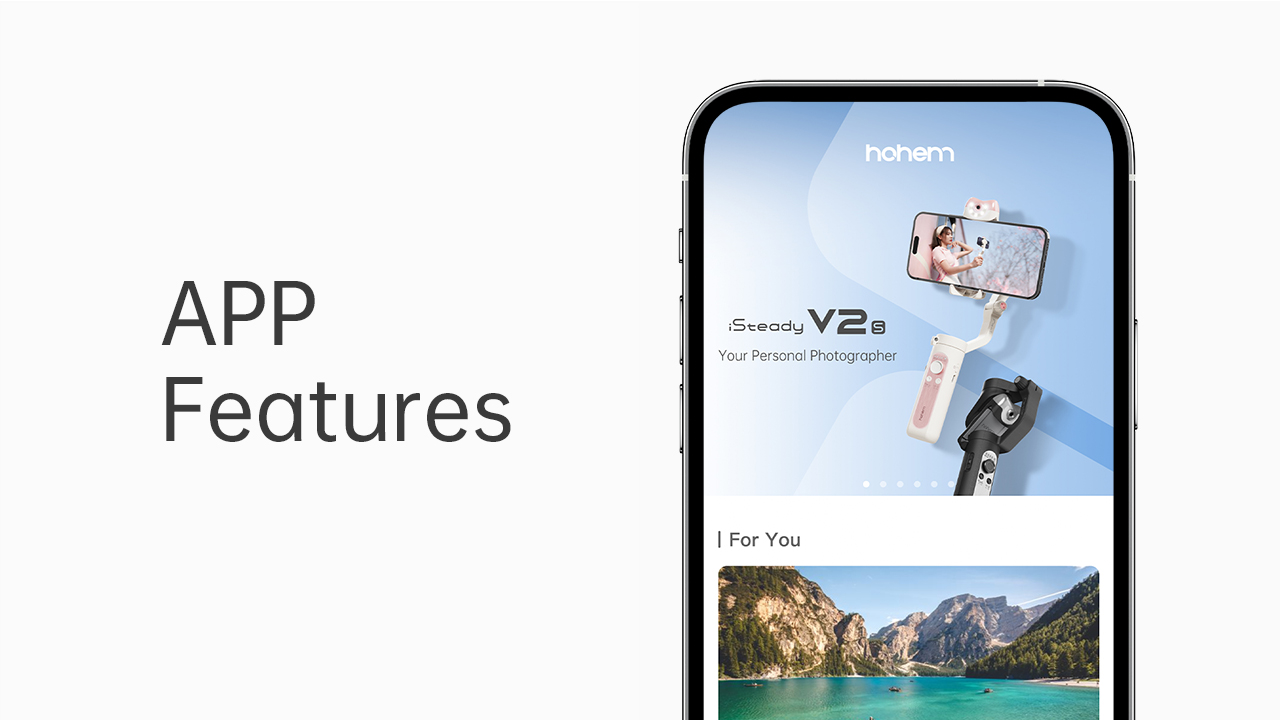
Shutter control is available exclusively through Hohem Joy App.
A. Make sure your phone is connected to the gimbal via Bluetooth.
B. Enter Hohem Joy app, open the camera and enable the gesture control function.
C. Use this gesture for shutter control of taking photo/video, and use this gesture
 to end video recording.
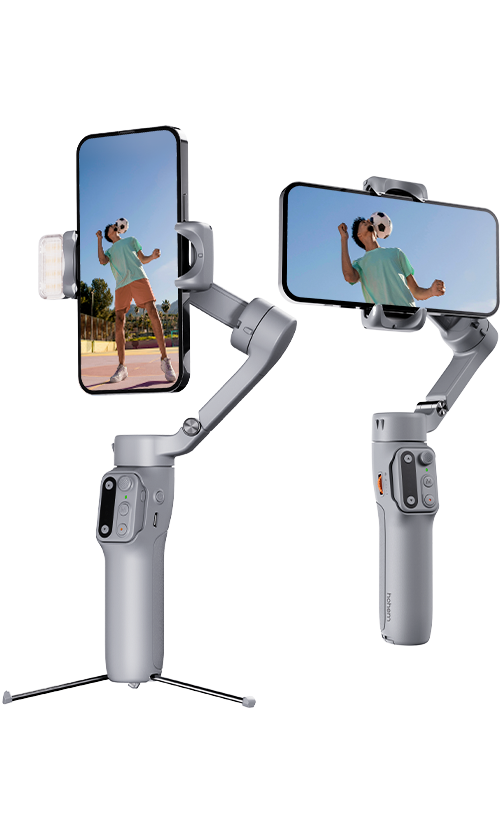
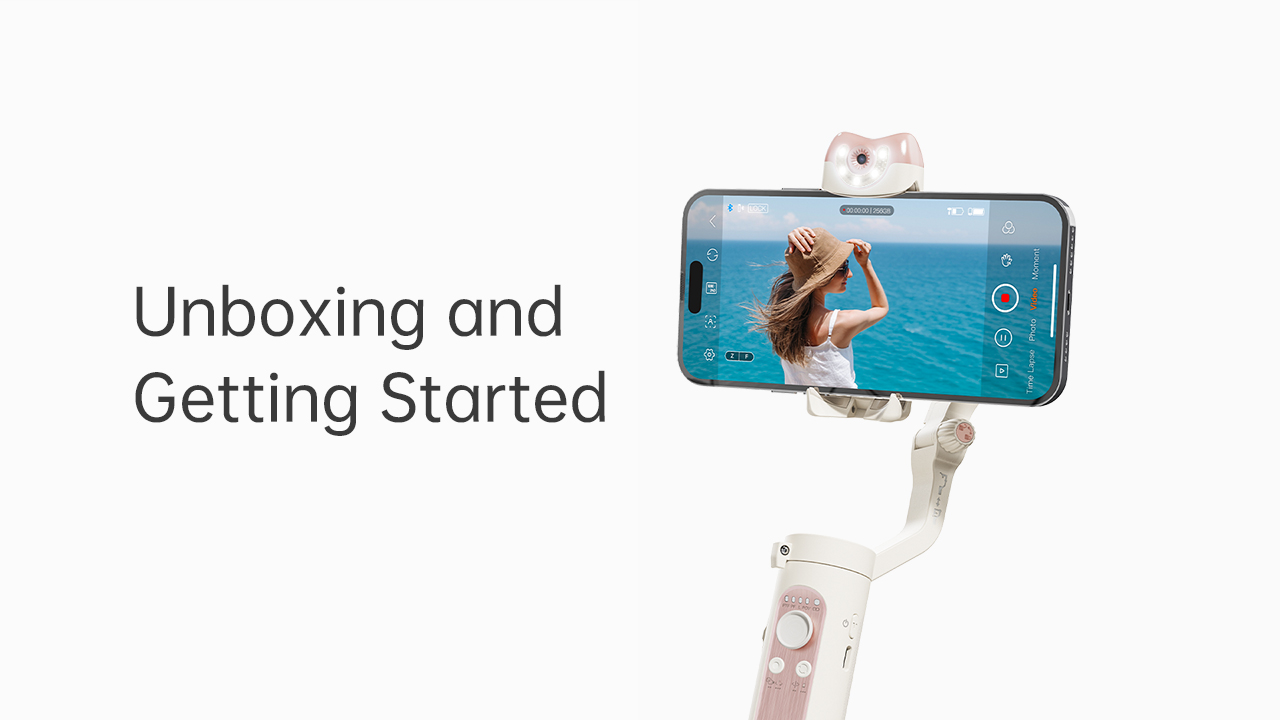
A. Ensure that you've unfolded and straightened the gimbal arms, and screwed the knob tight.
B. Ensure that the Hohem logo on the clamp is right side up, and the center of the phone is attached to the clamp tightly with the camera on the left side. Then power on the gimbal.
A. Make the Bluetooth is already connected.
B. For iOS devices, it's only Available in the Hohem Joy App.
C. For Android devices, it is only available in the Hohem Joy app or on the native camera app of certain standard protocol phones with Android 10.0 or later versions.
A. Slightly adjust the phone upward or to the left (in landscape mode, move it to the left; in portrait mode, move it upward) or try using a low-angle shooting technique.
B. When shooting in inception mode, during the latter part of the rotation, rotate the handle in a clockwise direction to avoid the motor arm from entering the frame.
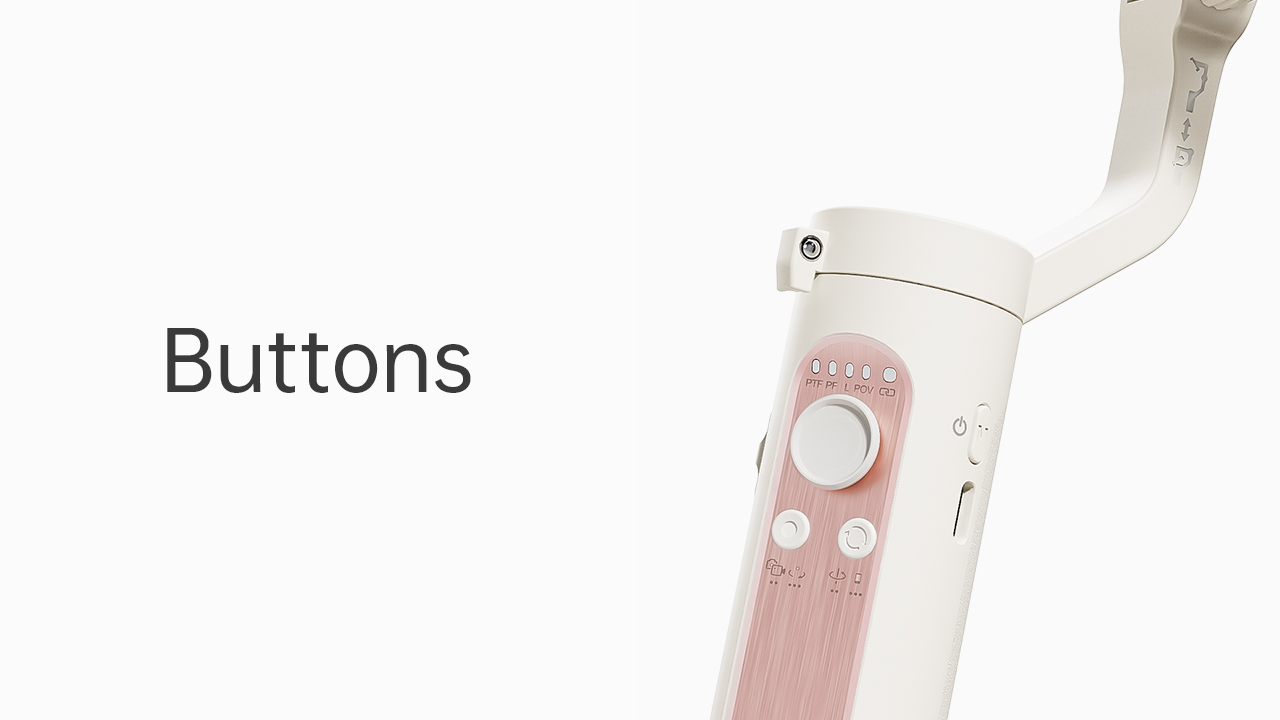
A. Mode Button/Power Button
① Long press: Power on/off
② Single press: Switch the working mode
③ Double press: Enter/Exit standby mode
④ Press five times: Enter auto calibration
B. Joystick
① Push up/down: Tilt up/down
② Push left/right: Pan left/right
C. Function Button
① Single press: Switch between landscape and portrait mode
② Double press: Recenter the gimbal
③ Triple press: Inception mode
④ Long press: Battery level
D. Shutter Button
① Single press: Take photo, start/end video (requires Bluetooth connection)
② Double press: Photo/Video switch (available exclusively through Hohem Joy APP and some Android phones via Bluetooth connection)
③ Triple press: Front/Rear camera switch (available exclusively through Hohem Joy APP and some Android phones via Bluetooth connection)
E. Zoom Slider
Push up: Zoom in (available exclusively through Hohem Joy APP and some Android phones via Bluetooth connection)
Push down: Zoom out (available exclusively through Hohem Joy APP and some Android phones via Bluetooth connection)


 Other Languages


Call service:
US+1 (888) 965 8512
Subscribe
简体中文 English Deutsch Italiano 日本語 한국어 Français Español Pусский Português