

 Aliexpress
 Hohem Official Store


教学视频
点击下方可观看 V3【快速上手】教学视频。
开箱&开机
物品清单
打开包装盒,可看到 V3 有如下物品:

安装前准备
取出V3,拉出底部隐藏三脚架。
将V3站立在桌面上,向上展开折叠臂杆。
手机装夹
拉开手机夹,手机镜头朝上,保持手机上下左右居中。
Tips:
安装手机时,手机背面须紧贴手机夹。
开机
• 一体模式
长按控制器红色快门键3秒,同步开启V3和控制器。
• 分体模式
长按手柄右侧电源键3秒,可开启V3。
长按控制器红色快门键3秒,可开启控制器。

三种使用状态
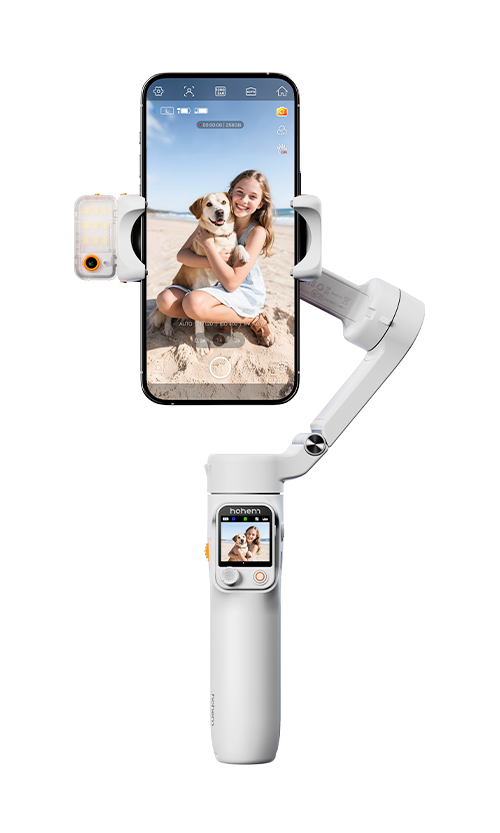
• 手持拍摄
握住手柄,可快速拍摄。
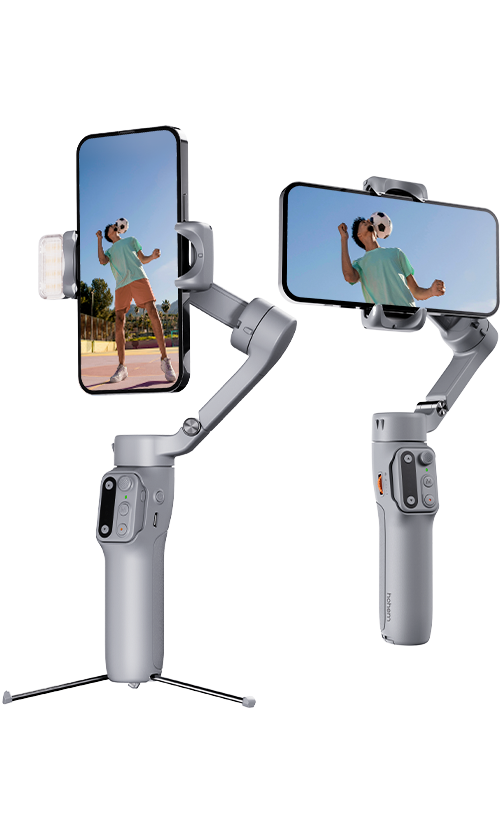
• 延长自拍
将内置延长杆向上拉出后,可将云台部分弯折至喜好的角度进行拍摄。
• 远程拍摄
将V3放立于稳定、平坦的平面上,取下手柄上控制器,可进行远距离控制拍摄。

Tips:
确保手机蓝牙已连接。
手机蓝牙连接
打开手机蓝牙,在蓝牙搜索列表中选择前缀为 “SV3” 的设备,点击配对。
控制器蓝牙灯常亮,表示配对成功。
以上为 V3 快速上手,点击此处,解锁更多稳定器操作教程。


